Notify Service User UserGuide
Purpose
The purpose of this document is to provide a User guide for the Service User role of a Notify Service.
Pre-requisites
- The client will need to have been set up and agreed to the T and C's for the Notify portal.
- The Notify Service has been set up on DTT by NotifyAdmin
- User has been added to Service by their ServiceAdmin
Platform URLs
The table below provides the details of the URLs for the Digital Transactional Toolkit (DTT)
| Platform | URL |
|---|---|
| Digital Transactional Toolkit | https://dttadmin.public.nics.gov.uk/DSSNotify/notify |
DTT Notify Setup
The following sections describe the steps required for a Service to get access to a Notify service on the DTT platform.
Log into the DTT Platform
To access DTT notify, navigate to https://dttadmin.public.nics.gov.uk where your Tenant dashboard will display, showing any tenants (Services) you may be associated with. In the screen below there is only one tenant (DSSNotify) but you may have others.
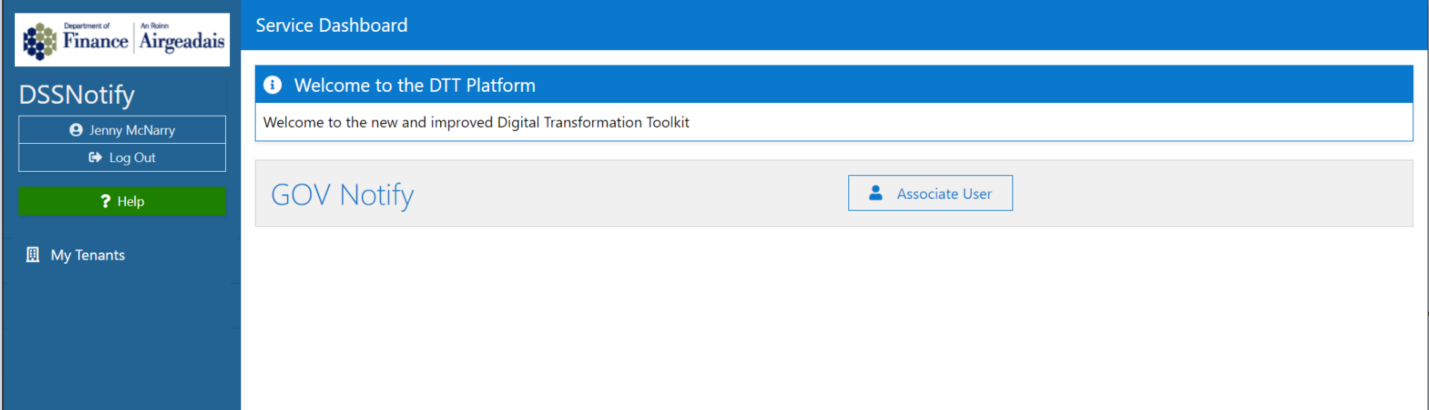
Each service that you are a User for, will be displayed on the list.
On entering a selected service there will be a menu on the left hand side, detailing the actions that available to you as a User.
Campaign List
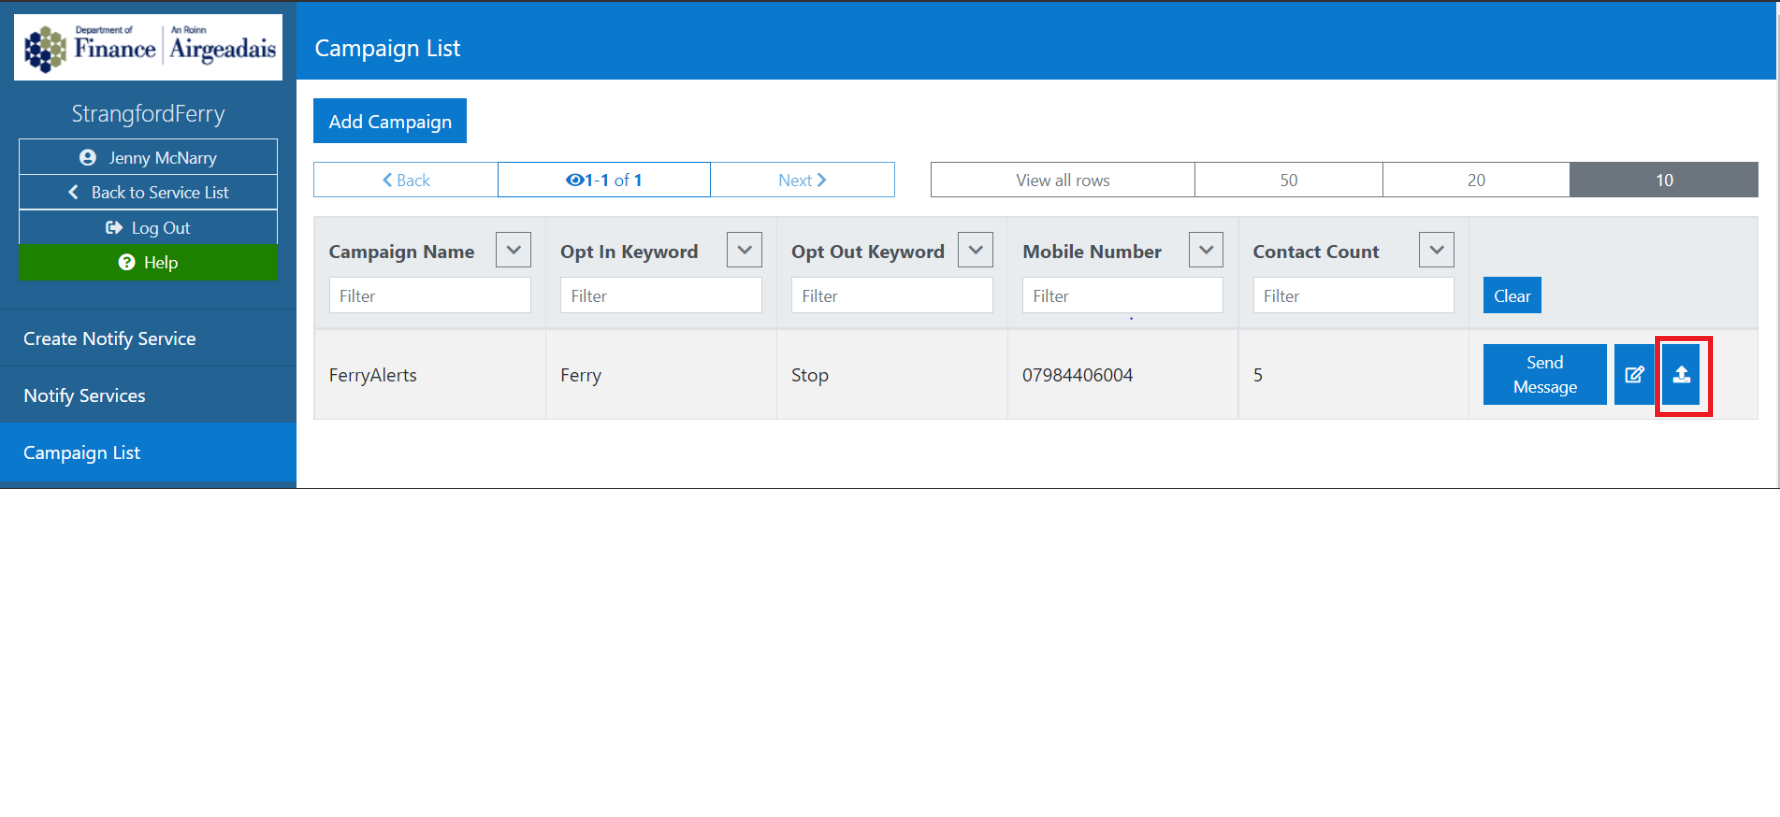
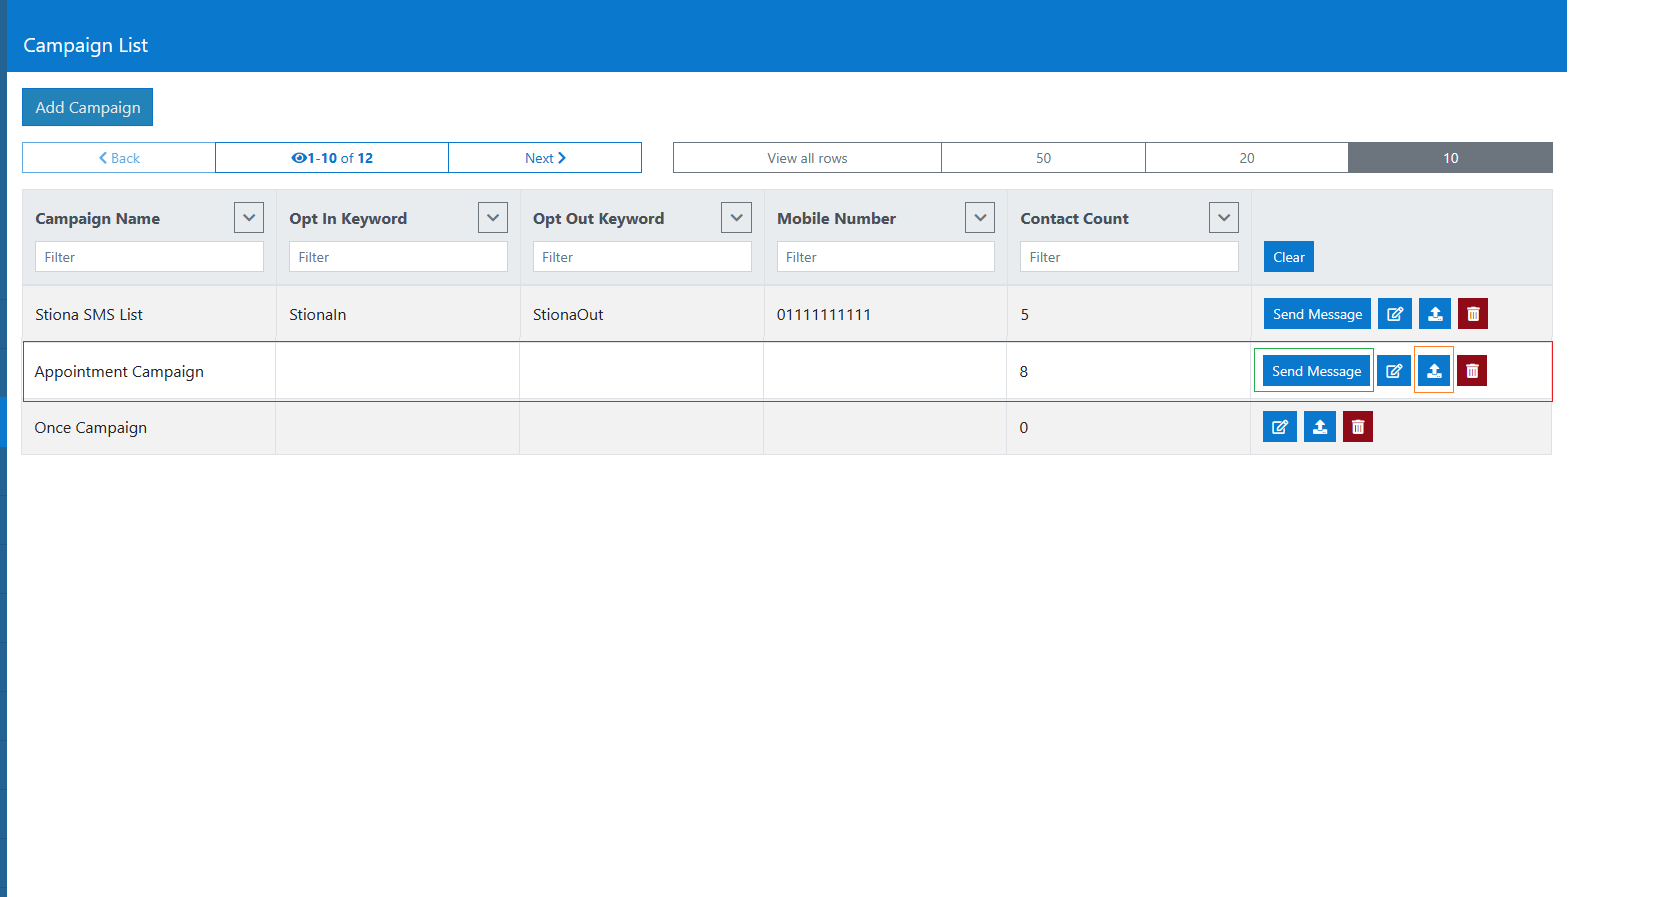
Once logged onto the Platform, you will see the List of campaigns for your service
Once the Campaign is set up by the ServiceAdmin, it can be to be used to send SMS. The Campaign List screen shows the actions available to a user on the right hand side of the Campaign row in the list.
Edit a campaign
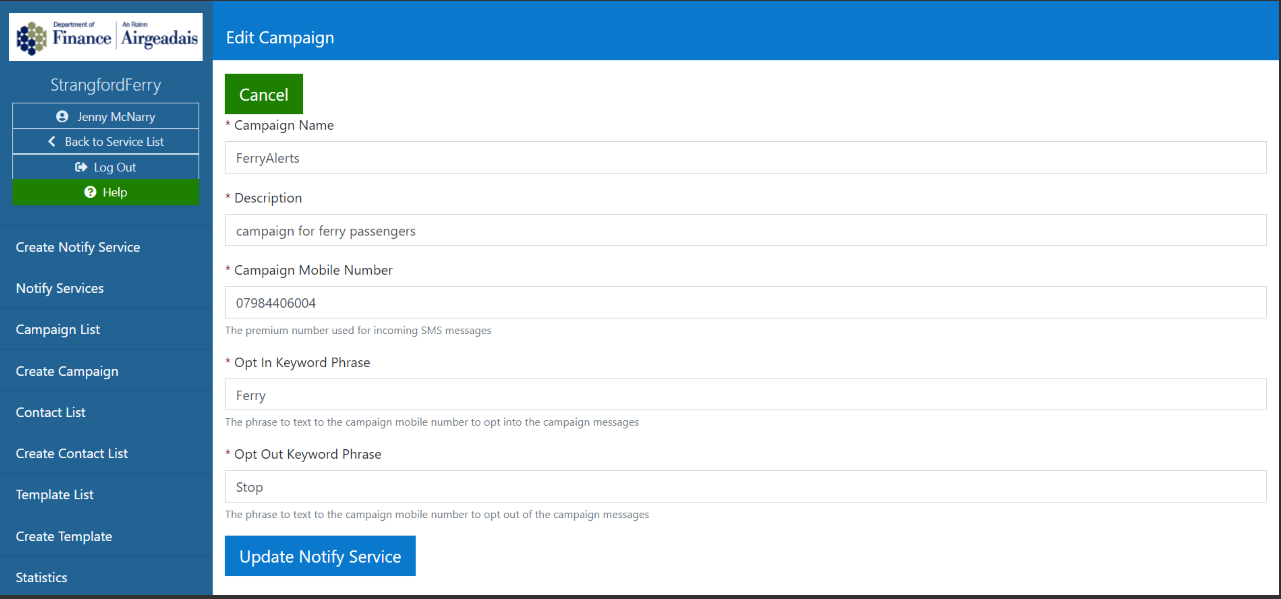
If a user wants to edit the details of a campaign, they should select the Edit icon from the right-hand side of the row on the Campaign list.

Selecting the Edit button, will display the Campaign fields, and once edited the changes are saved by selecting the Update Notify Service button.
Upload Permanent Contacts
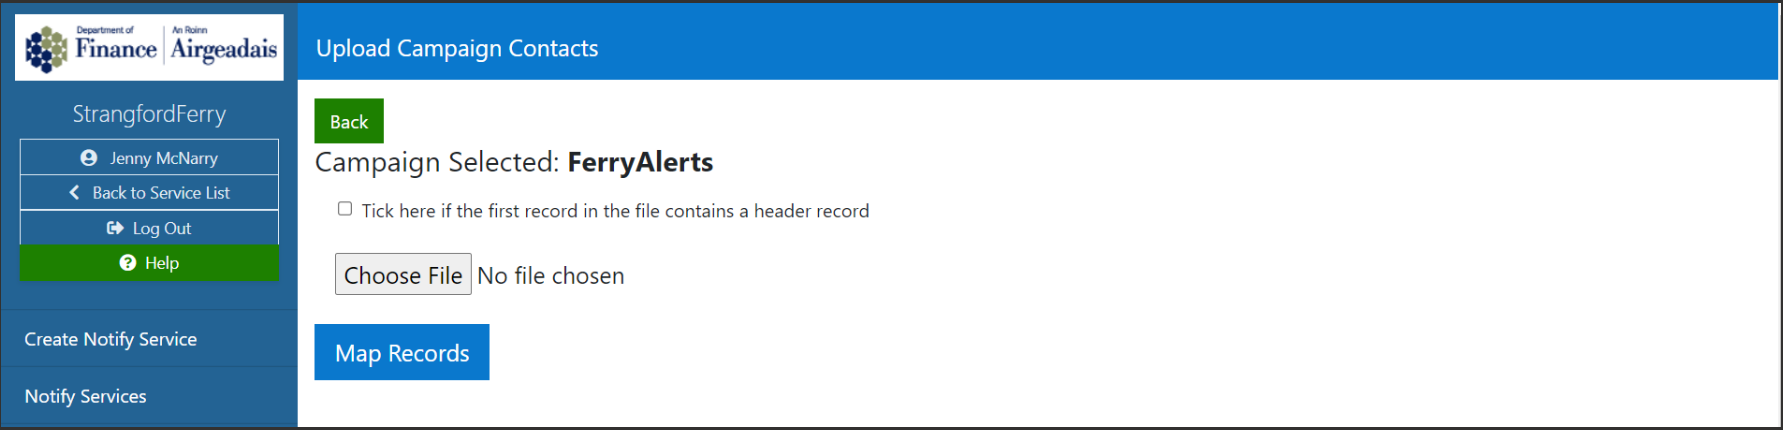
When setting up a campaign, the user can upload a list of subscribers to the campaign (permanent contacts). It will be these users (and any who opt in manually) that will receive sent SMS'.
Once selected, the Upload screen will display. The user should select to 'Choose file' and locate and upload the contact list. Once selected, the user should Map Records to commit the list to the campaign details.
Send a Message
If a user wants to send a message on a campaign, they should select the Send Message button on the required campaign. The type of campaign selected will determine the next screens displayed.

Once selected the Send message screen will display.
- For the Campaign that reuses contacts and users opt in and out of the service, the following screen displays.
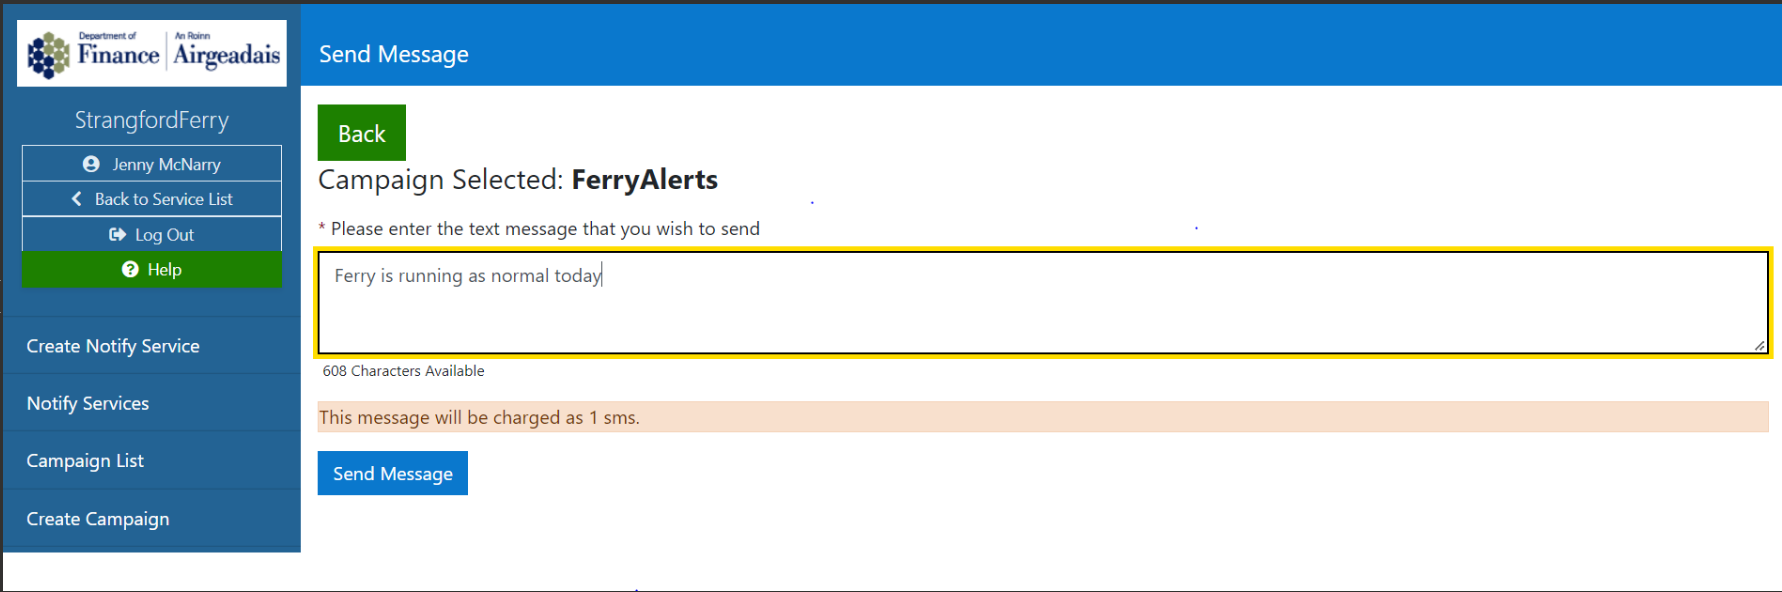
The user should enter the text of the message they wish to send. (There will be a message character count on screen and an informational message regarding the size/costing of the message for example, 1 SMS or 2SMS etc)
Selecting the Send Message button will then distribute a text to all recipients who have opted into receiving texts for the campaign selected.
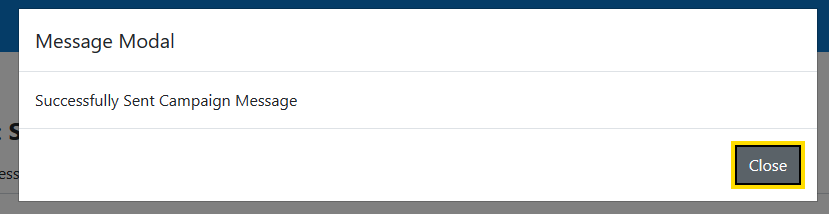
The user will receive a successful confirmation message
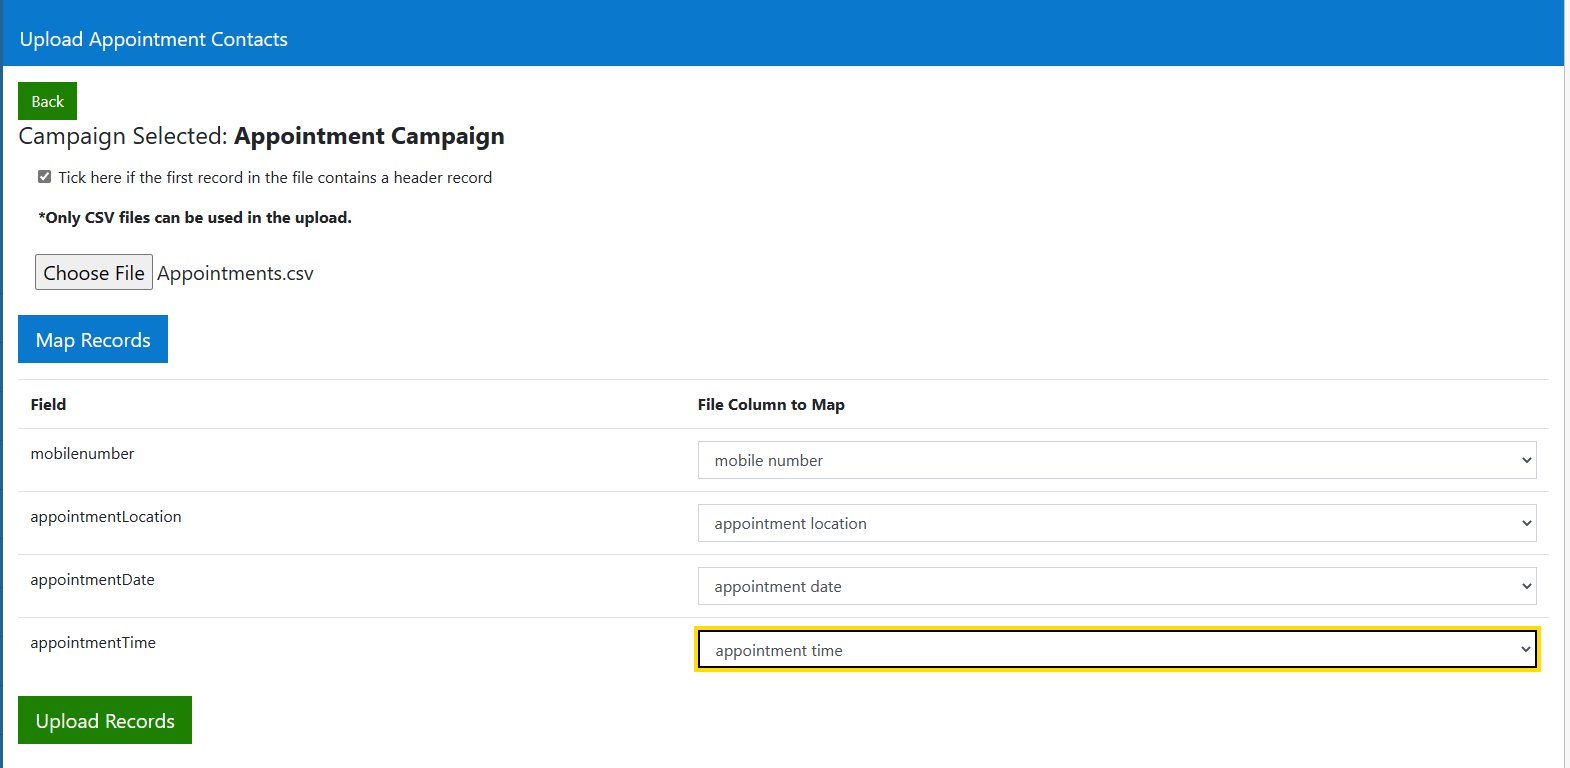
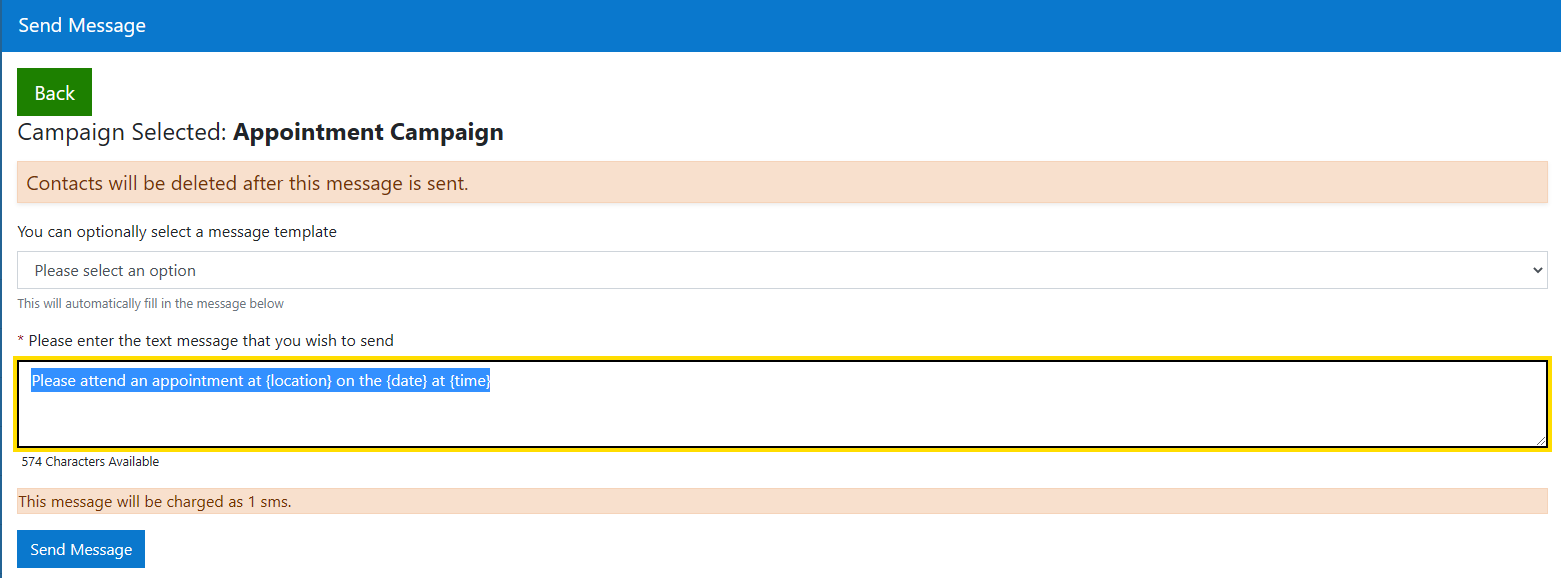
- For the Campaign where contacts are used only once or for the 'Appointment' type campaign, the sender must upload the contact and appointment details first.
Once an Appointment Campaign has been created, the user must first upload a list of contacts and/or appointment details before the message can be sent.(If there is no contacts uploaded, the Send message button will not appear). This must be in the form of a .csv file and contain all the required fields for the message. There are up to 4 fields permitted to be uploaded :
mobile number: the number to which the message will be sent (this is only field for 'once' type campaigns.)
appointment location : the place the appointment will take place
appointment date : the date of the appointment
appointment time : the time for the given appointment.
These fields must be mapped to the csv ensure use correct use in the message.
Once the contact details have been uploaded, the Send message button will appear on against the campaign
When the send message button is selected , the message text screen will appear.
The fields uploaded in the csv file and mapped to the campaign, should be entered in { } in the text of the message - as per the example .
Create a Message Template
In addition to the Send message functionality, a User can set up message templates for their campaign using the template functionality.
There can be multiple (or no) templates for each campaign. This means they can template a message for re-use, rather than having to enter the same text each time.
To do this, the user should select the Message List menu item from the left-hand menu. Once selected the Create template screen will display.
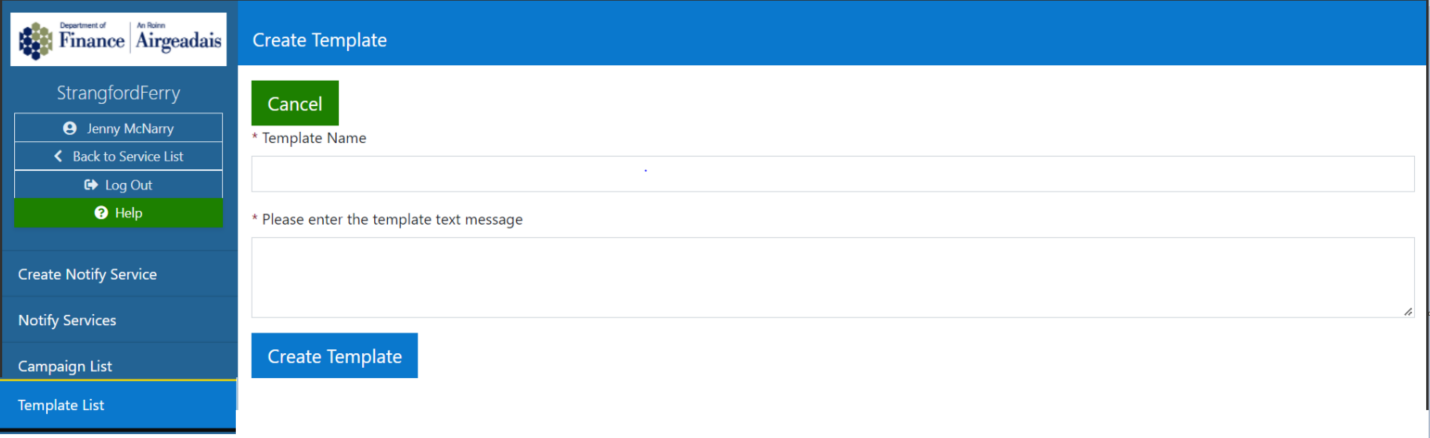
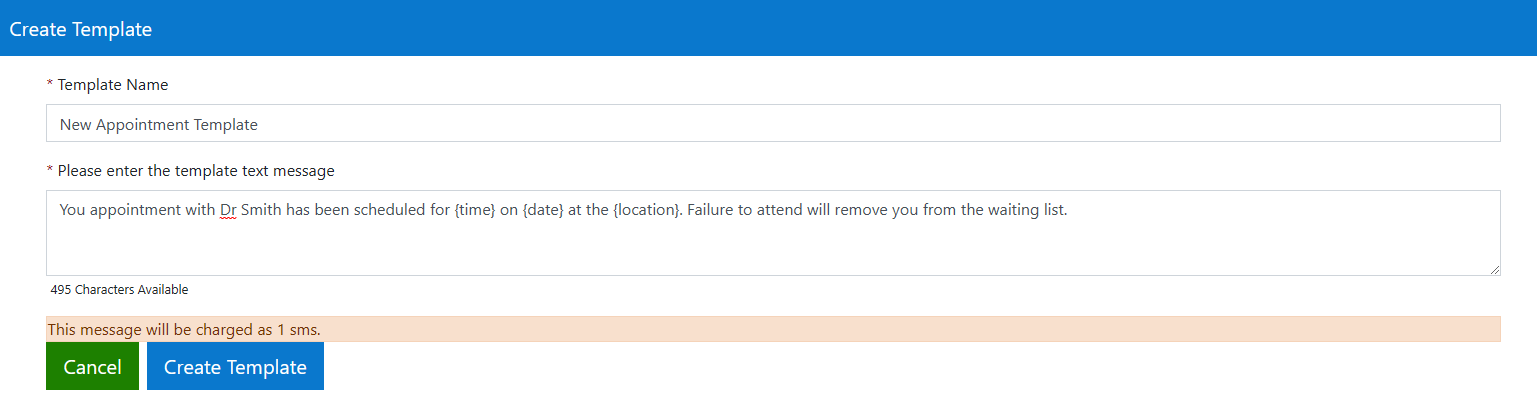
The create Template screen, has two mandatory fields to be completed before the template can be set up (templates are usually set up by the ServiceAdmin of the Notify service):
- Template Name – this is the name of the Template.
- Please enter the template text message – this is the message text that will be delivered to subscribers
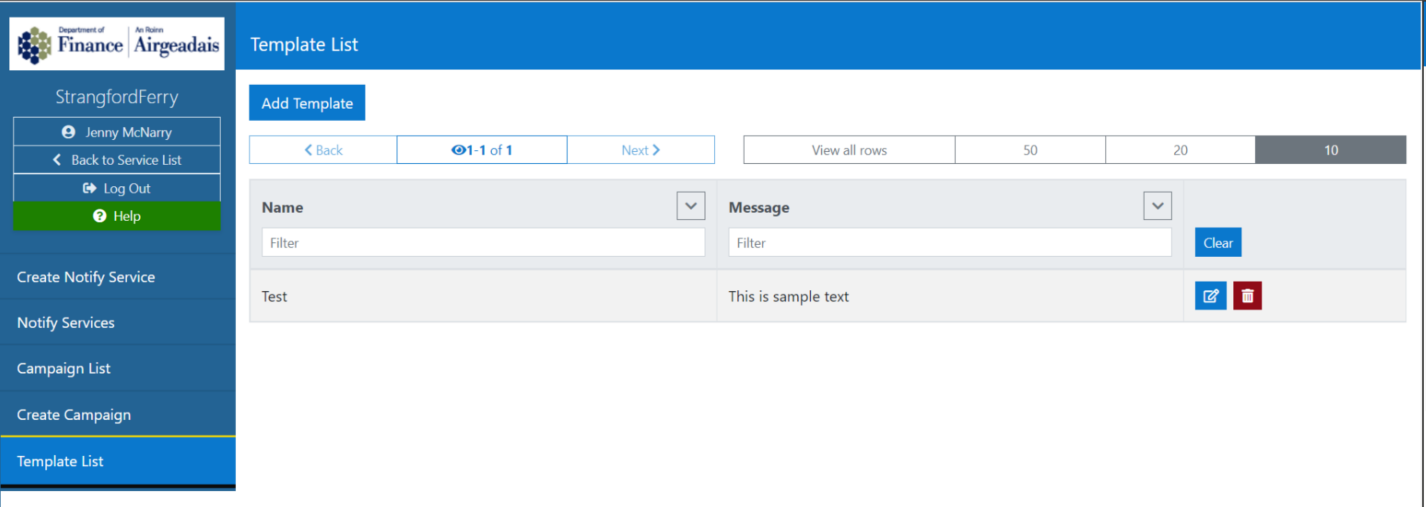
Selecting Create Template will confirm the details and display the new template on the Template List.
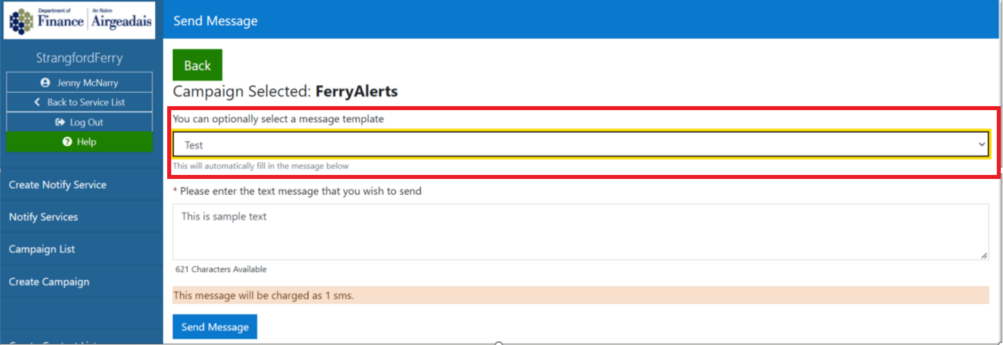
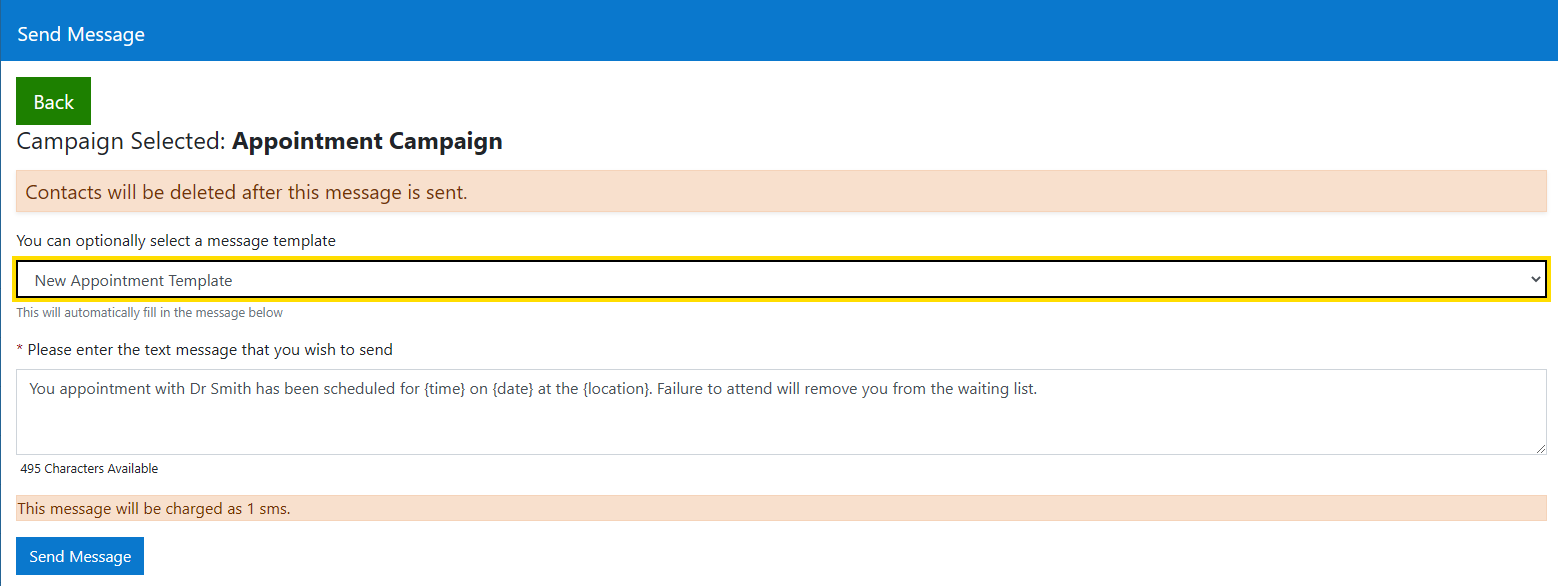
Once at least one template has been created for a Campaign, the Send message screen will appear differently to that described in 3.4.1
Once Send message is selected, the Send message screen will now contain a Dropdown list, displaying all templates that exist for that campaign. The user will be able to either select a template or enter new text in the text box.
Appointment Campaign Templates
Appointment Campaigns are those that allow a user to send appointment details via sms. The message will contain the date, time and location of the appointment. Therefore when a template is set up for one of these campaign types, it should include the required bookmark fields
Then when the user selects to send a message, the template will be available for selection. The bookmarked fields will be automatically populated with the data from the .csv and the message sent to multiple users.
A new contact list should be uploaded for each new group message.