Manage Desks
Note
This feature is only available to users with an Admin role.
Once you have created a floor, you can then add the desks to it. If you have created zones, then any of the configured desks can be associated to a zone but this is optional.
Adding desks to a floor
From the left-hand navigation bar, click the Manage Buildings menu item.
Locate your building in the list and click its associated Floors button to display any floors currently configured for that building.
Locate your floor in the list and click its associated Desks button to display any desks currently configured for that floor.
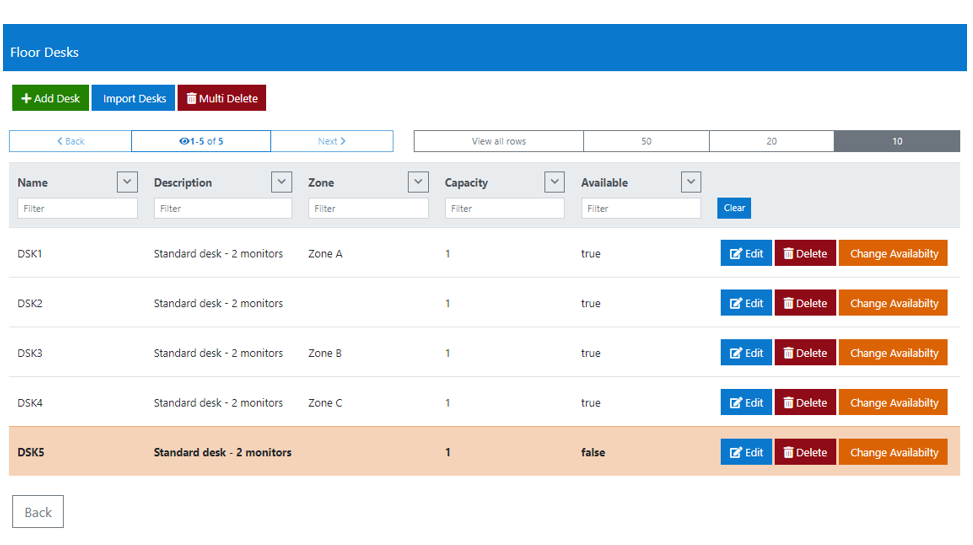
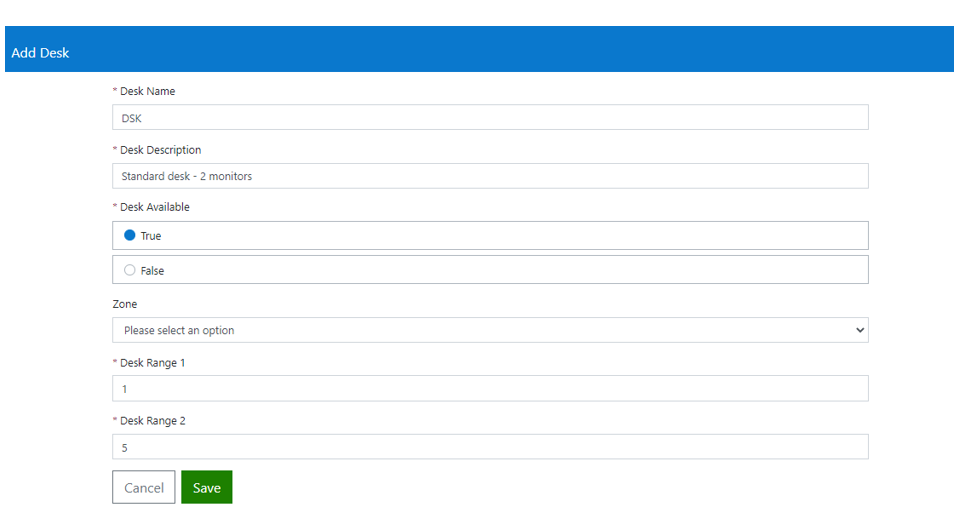
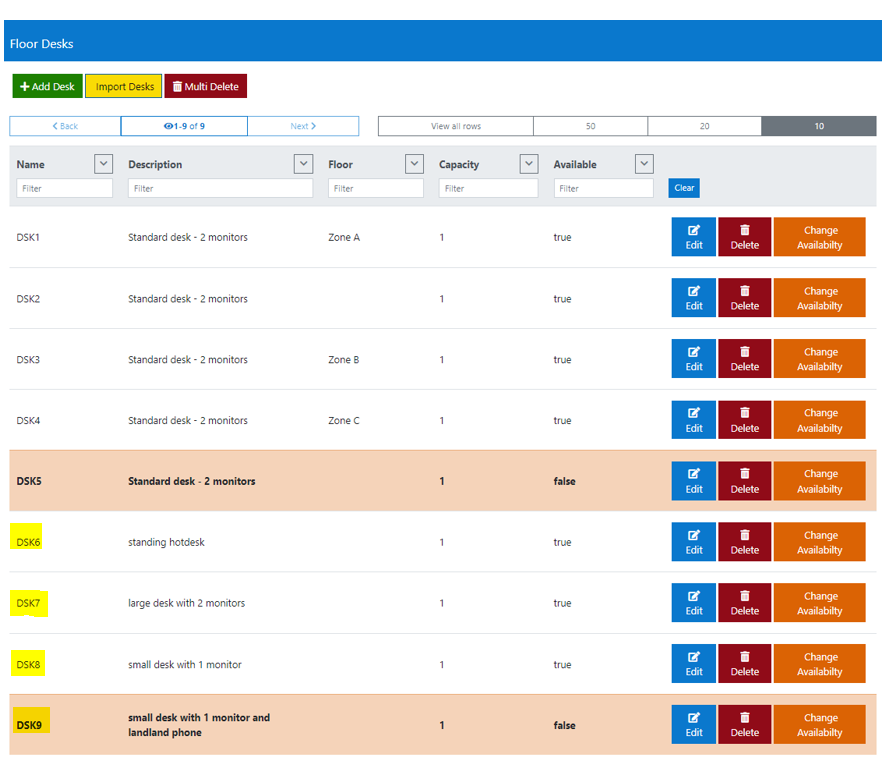
Clicking the Add Desk button will allow you to configure one or more desks.
- enter a desk name - the number of the desk will be appended to this name
- enter a desk description
- configure desk availability:
- if set to True, the desk will be available for users to book
- if set to False, it will not be available for bookings and will appear highlighted amber in the desk list (as DSK5 above)
- if zones have been configured for this floor, then they will appear in the dropdown list of zones; you then have the option to assign this desk to a particular zone or not- associating a desk to a zone will mean that it will be returned if users search for desks within this zone. If a zone is restricted to specific users, then so are its associated desks
- enter desk range 1 - number of first desk in range
- enter desk range 2 - number of last desk in range
Note
Desk Range equates to how many desks you would like to add. All the desks will be exactly the same except for their desk name. So, for example, entering a desk name of 'DSK', a starting range of '1' and an ending range of '5', will create 5 desks named DSK1, DSK2, DSK3, DSK4 and DSK5.
Click the Save button to add the desk(s) to the floor.
Note that these desks will be returned in booking searches provided their availability is set to True.
Importing desks to a floor
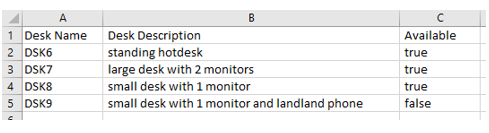
This facility allows admins to bulk import multiple desks directly to a floor via an uploaded .csv file.
First create a csv file containing all your desk information for that floor in the following format:
click the Import Desks button and follow the instructions on the modal:
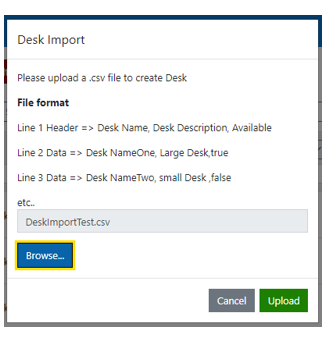
- click the Browse button, navigate to and select your .csv file
- click the Upload button to complete the action.
A Desk Import results modal will be displayed and your desks will now be listed in the desk list:
Note that these desks will be returned in booking searches provided their availability is set to True.
Changing the availability of desks
At any point you can update the availability of the configured desks.
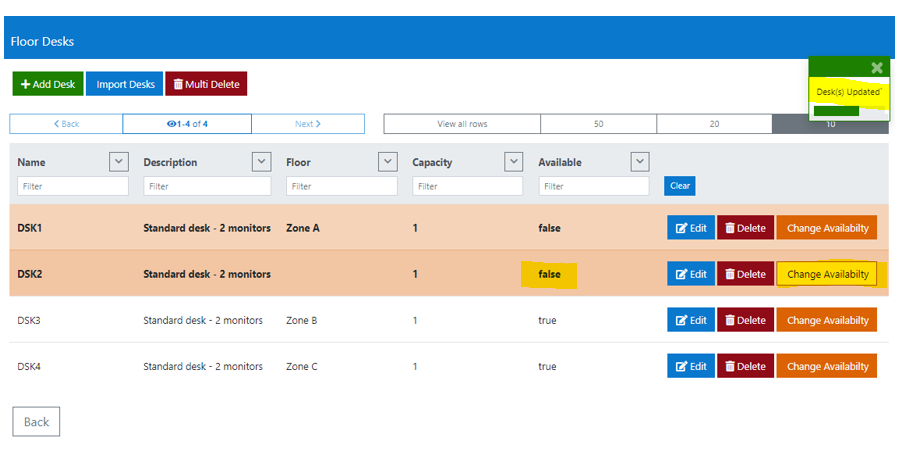
Each desk listed on a floor displays an associated Change Availability button which when clicked will toggle the availability of a desk either on or off without having to edit its details.
If the desk is set to False then clicking the Change Availability button will set it to True and vice versa.
- if set to True, the desk will be available for users to book
- if set to False, it will not be available for bookings and will appear highlighted amber in the desk list
Deleting desks from a floor
As an admin, you have the ability to remove desks from floors.
From the left-hand navigation bar, click the Manage Buildings menu item.
Locate your building in the list and click its associated Floors button to display any floors currently configured for that building.
Locate your floor in the list and click its associated Desks button to display any desks currently configured for that floor.
To delete desks on an individual basis, click the Delete button associated to a desk.
To delete desks on a bulk basis, click the Multi Delete button at the top of the list of desks.
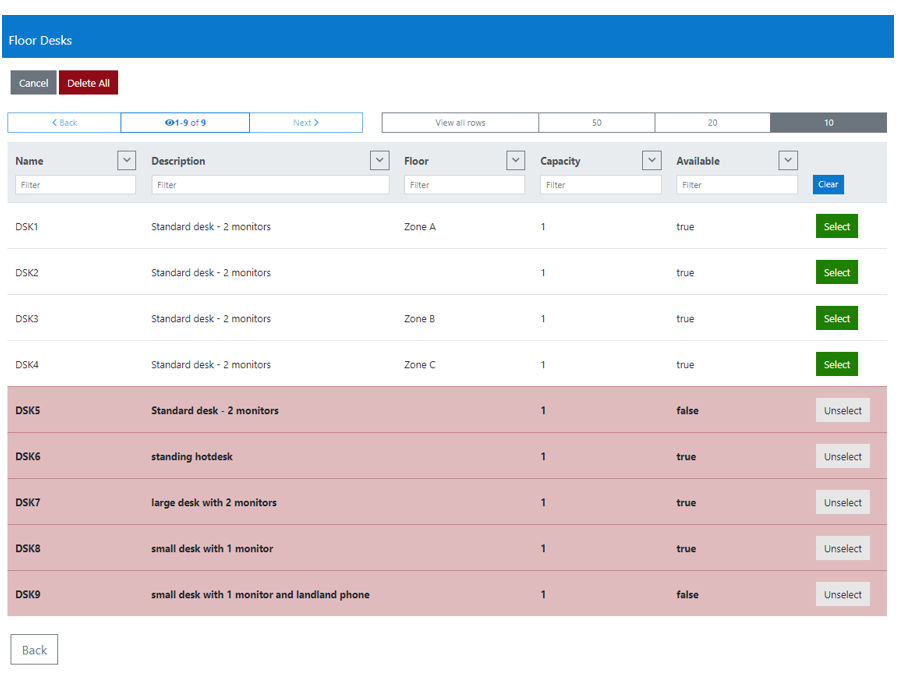
click the associated Select button next to all the desks you wish to remove
to undo a selection, click its Unselect button
clicking the Delete All button will display a confirmation modal
alternatively, clicking Cancel will abandon the action without deleting any desks
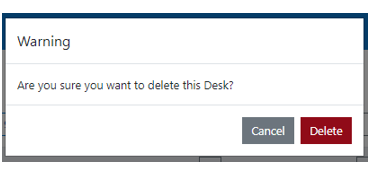
Clicking Cancel will dismiss the modal
Clicking Delete will dismiss the modal and remove ALL of the selected desks from the floor.
However, if there are any current bookings against this desk, the following message will be displayed and you will not be able to complete your deletion until all the open bookings have been cancelled.
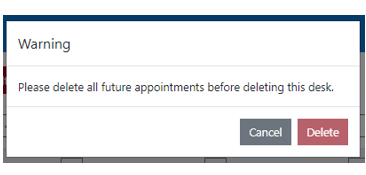
Click the Cancel button to dismiss the modal.